Not all schools use contact paper to attach door decs, but for those of you that do, I'm sure you know how difficult and annoying it can be when trying to get it all to work. So here is my suggestion on how to make your life much easier when doing the contact papering.
1. Create Your Door Decs
Make sure that they are spelled correctly and that they are ready to go. For more ideas and suggestions on what to do for your door decs, see the main door dec page.
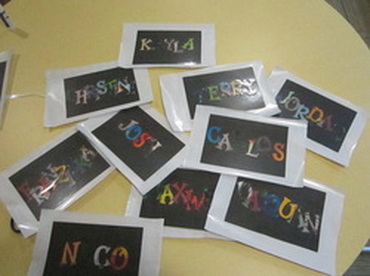
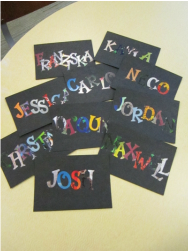
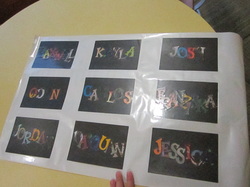
For these door decs I used a letter punch to cut out letters from magazine pages and then glued them onto some pre-cut black card stock. These are the names of our staff.
For these door decs I used a letter punch to cut out letters from magazine pages and then glued them onto some pre-cut black card stock. These are the names of our staff.
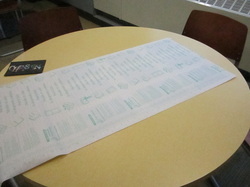
2. Unroll the Contact Paper
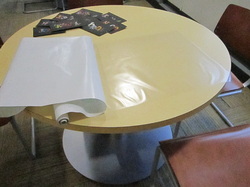
Unroll with the backing facing up and the shiny, transparent side down. Give yourself plenty of room.
Carefully peel back the backing and leave the sticky side facing up.
Carefully peel back the backing and leave the sticky side facing up.
3. Place Your Door Decs
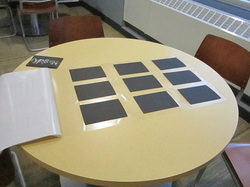
Leaving plenty of space between the door decs, lay them face down on the contact paper.
Be sure that there is enough space between the door decs that when you cut the contact paper you will have at least half an inch on any side of each door dec. This means that you need at least an inch between any two door decs.
Be sure that there is enough space between the door decs that when you cut the contact paper you will have at least half an inch on any side of each door dec. This means that you need at least an inch between any two door decs.
4. Re-cover, Flip, and Cut
Recover the sticky side (and your door decs) with the backing.
Flip it over and make sure that they all look alright.

Cut in between the door decs so each one has enough on each side to stick to the door.
5. Put Them Up!
Make sure you put them all on the correct doors and simply peel the backing off of that single door dec, and stick it up!
 RSS Feed
